No-Sew Mini Bunting Banner Tutorial

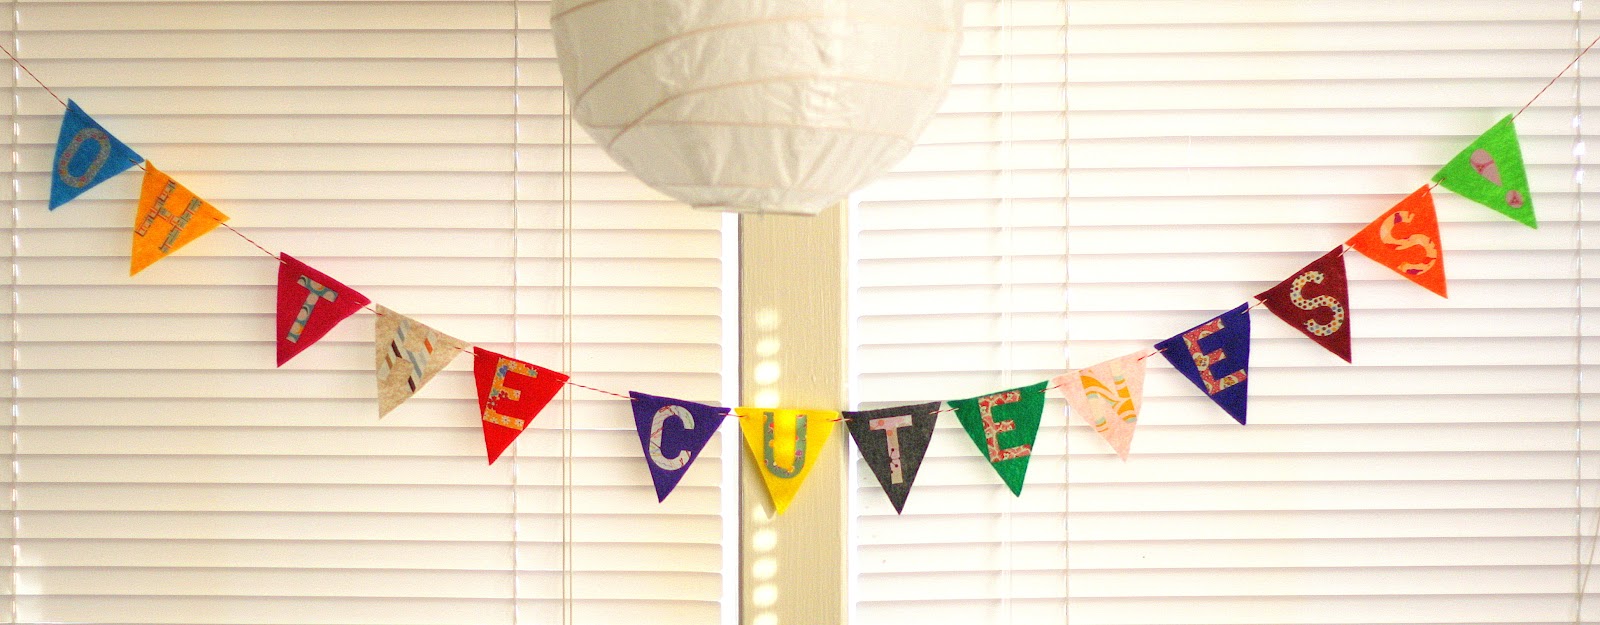
As promised, here's a little tutorial that shows you how to make a lettered felt bunting like I made for my table at a recent craft fair:

Mini Bunting Banner
Materials Needed:
Steam-A-Seam Sticky Back Fusible Web for Applique (This is exactly what it says on the package, and you can find this at most places that carry fabric.)
Baker's Twine
Eco-Felt (Bought mine at Michael's for twenty cents a sheet.)
Fabric Scraps
2" Letter Stencils (These can be found in hardware stores in the same section as house numbers and signage.)
Pen
Sharp Yarn Needle
Iron & Ironing Board
Bunting Template (See below.)
1. The letter stencils I used come in a few different sizes. At first I used a 4-inch set I had, and when I was done with the banner I realized it was about three times too big for my table! It will be super cool to use if I have a big tent at a large outdoor fair, but I started over with the two-inch version. Here is a printable template for the flags (click on it to save the high-resolution image):

2.Print this on a full page and cut out the templates, and use them to cut as many flags as you need to spell out your message.

3. Trace your letters onto the web side of your fusible interfacing. Be mindful of letters that are not the same forwards and backwards (or right side up/ upside-down), as your finished letters will be mirrored. I messed up the S's and N's the first time. After you've got all your letters traced, cut them out inside rectangles as they're easier to detail cut after you stick them to the fabric.

4. Peel off the paper backing and stick the interfacing to the wrong side of the fabric. Trim away the excess fabric.

5. Carefully lay your letter on the center of your felt flag. Now here's where you need to make a decision: This felt is basically plastic, and therefore it's easy to melt it with a hot iron. You have two options:
A: Set the iron to just a touch higher than the recommended setting for acrylics and do a couple passes, checking afterwards to make sure the interfacing has been melted and the letter sticks -or-
B: Do what I did and put the iron on a high heat and make one very swift pass over the flag.
Option B worked just fine for me, and with one swipe of the iron the webbing was fused and I was good to go. If you're not very familiar with ironing then I'd go with option A.

6. Thread your yarn sharp with the baker's twine and, starting with the last letter of your message, thread through the front of the upper right corner and back out the back of the upper left corner of each flag.

Hang it up and get the party started!
Oh, also, if you want to make the 4" bunting, I did a zig-zag stitch on the outside of the letters and it felt more finished. Totally optional though!


Perfect! I'd love to try this.... Yours and Carolyn had one too, they are great!
ReplyDeleteHi Chase,
ReplyDeleteWhat an adorable bunting and wonderful blog..I will be coming here often..thnaks for your great basket tutorial..will some making some of those for my stash of yarn
❤
Really nice DIY!
ReplyDelete